category Focus
Carpet Tile Installation: Think Resilient!
By Christopher Capobianco
A properly installed loose lay carpet tile looks “seamless” because the tile was set snug against the walls. In other areas of this project where a gap was left around the edges, the tile “walked,” creating gaps at the tile seams. Photo: Christopher Capobianco.
I wrote a column called “Let’s Talk Resilient” in FCI from 2003- 2012, having been asked to write by the founder of FCI, the late, great Howard Olansky. This was when I was working 100% in technical consulting and training, and I enjoyed that time of my career very much. I was happy this year to be asked to contribute again. It’s nice to be back. I hope that all my readers, the FCI team and your families are keeping well.
If I’ve heard it once, I’ve heard it a hundred times, “If you’re worried about (fill in the blank with a substrate issue), use carpet tile instead of resilient flooring.” That is a risky assumption to make because carpet tile installation has many of the same challenges as resilient floors when it comes to substrate preparation. I covered this subject in FCI in 2010 and was encouraging resilient flooring installers to expand into this part of the business because this category was growing fast in the commercial sector and taking market share away from broadloom carpet. However, I also urged installers to pay attention to the same rules as resilient when installing carpet tile – site conditions, substrate preparation, moisture testing, adhesive selection and job layout.
My advice to manufacturers, specifiers, flooring contractors and installers is to go “by the book” and that book is ASTM F710, Standard Practice for Preparing Concrete Floors to Receive Resilient Flooring, which I will quote throughout.
Manufacturers guidelines are also important and supersede all else, but I have often gotten the attention of architects and contractors by quoting “industry standards” to make a point. You may say, “Hey, we are talking about carpet tile, not resilient!” Well, many of the same rules apply and the scope of F710 confirms that, stating, “although carpet tiles, carpet, wood flooring, coatings, films, and paints are not specifically included in the category of resilient floor coverings, the procedures included in this practice may be useful preparing concrete floors to receive such finishes.” I agree! The bottom line is that preparation is still an important part of the job so allow time to do it right.
First, as far as site conditions, failures due to improper temperature conditions on site have always been an issue because of “fast track” construction schedules. Carpet and adhesive manufacturers are specific in their instructions and so is ASTM F710, “General recommendations are for the installation area and materials listed above to be maintained at a minimum of 65°F (18.3°C) and a maximum of 85°F (29.4°C) for 48 hours before, during and for 48 hours after completion of the installation.”
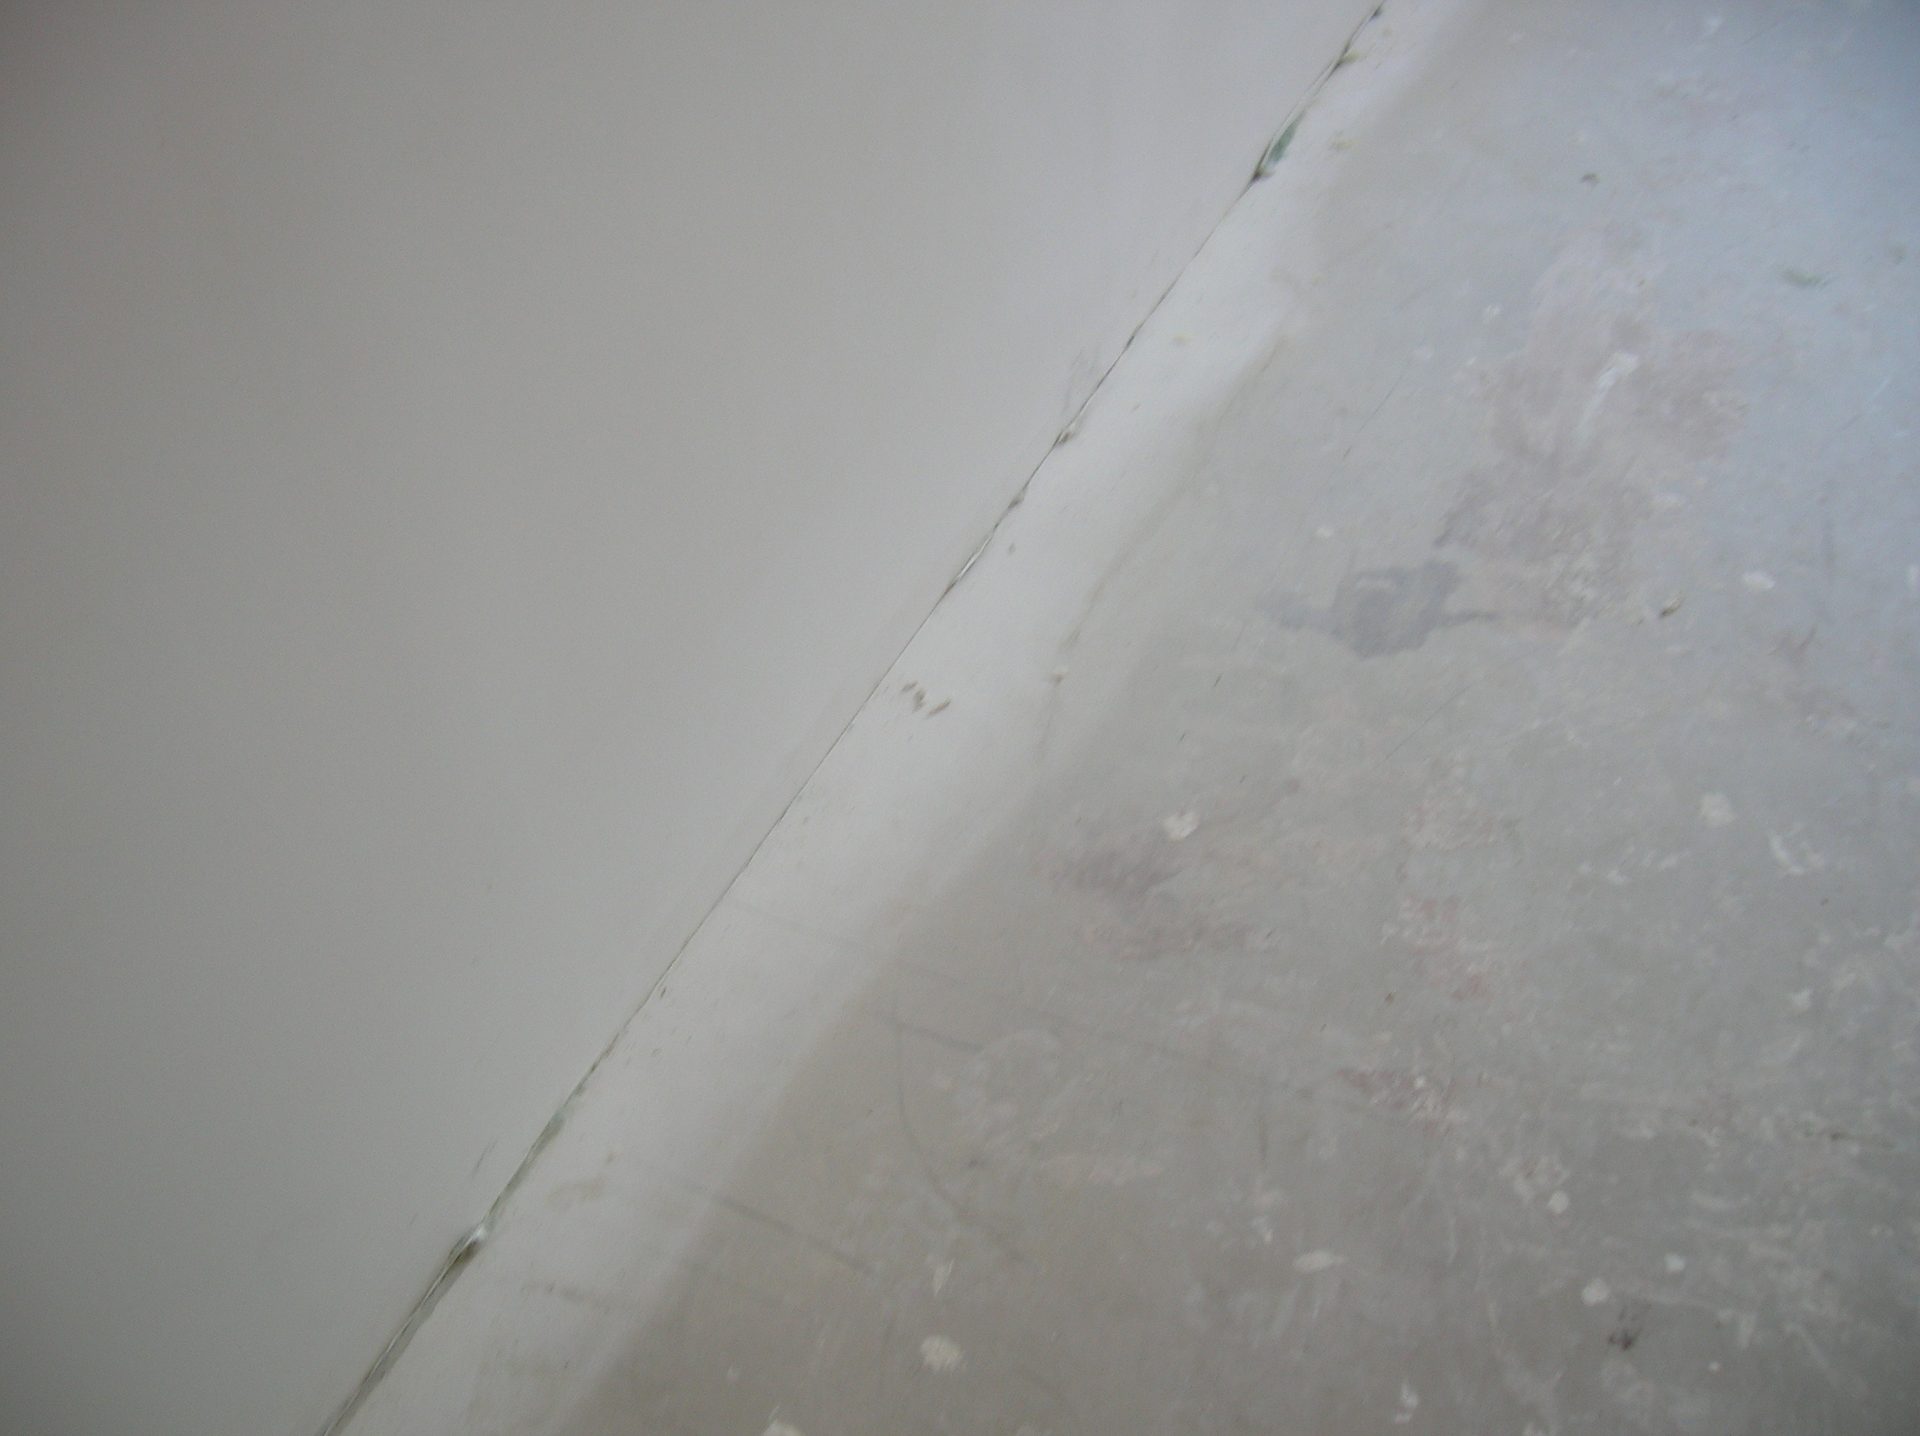
Substrates that are not cleaned prior to installation can cause bonding failures for adhesives and patching/ leveling compounds. Paint is one of the most common culprits for contamination. Photo: Christopher Capobianco.
Clean, smooth, and flat substrates are also important, whether they are brand new or part of a renovation, and there is extensive language in F710 stressing this. Contaminated substrates are often overlooked; the most common culprits are paint, curing compounds and other contaminants on new substrates and existing adhesive on renovation projects. If you are doing a glue down floor covering installation, make sure it’s cleaned by using “non-chemical methods for removal, such as abrasive cleaning or bead blasting.”
Common wisdom is that you don’t have to worry nearly as much about a smooth substrate for carpet as you do with resilient floor products. I don’t disagree that carpet is more forgiving of telegraphing, but the floor still must be relatively flat and smooth. Any high spots or dips in the substrate will affect the integrity of the floor, can affect the carpet’s durability and although they are not as glaringly obvious it will be a call back if the owner notices it. Better to take care of these before the job begins.
The surface smoothness is another detail to look at. Even though a rough substrate will not necessarily telegraph through carpet, it can affect adhesive bond so, a “loose lay” installation might be a better option – or when in doubt give the floor a “skim coat” with a good quality cementitious patching compound to smooth the floor and assure a good bonding surface for the adhesive.
While you are checking the smoothness, check the porosity of the substrate as well because a porous substrate will soak up your adhesive, so a primer might be necessary. A concrete subfloor that is excessively porous could be a sign of other issues with the concrete itself, and, with all floor coverings installed over concrete, there is the issue of moisture.
Back when I worked extensively in trouble shooting and inspections, I was involved in several concrete moisture related failures and shared a lot of those case studies in my FCI columns. One so-called “solution” to a concrete moisture issue is to install carpet instead of resilient because it “breathes.” That is a fallacy. Moisture related problems with carpet can still be an issue, so don’t assume it won’t be. Even on “loose lay” installations, trapped moisture beneath the floor covering can be a problem even if there is no adhesive. Don’t assume moisture isn’t an issue because an existing floor didn’t have a problem, or if the slab is older or on upper floors that are not in contact with the ground.
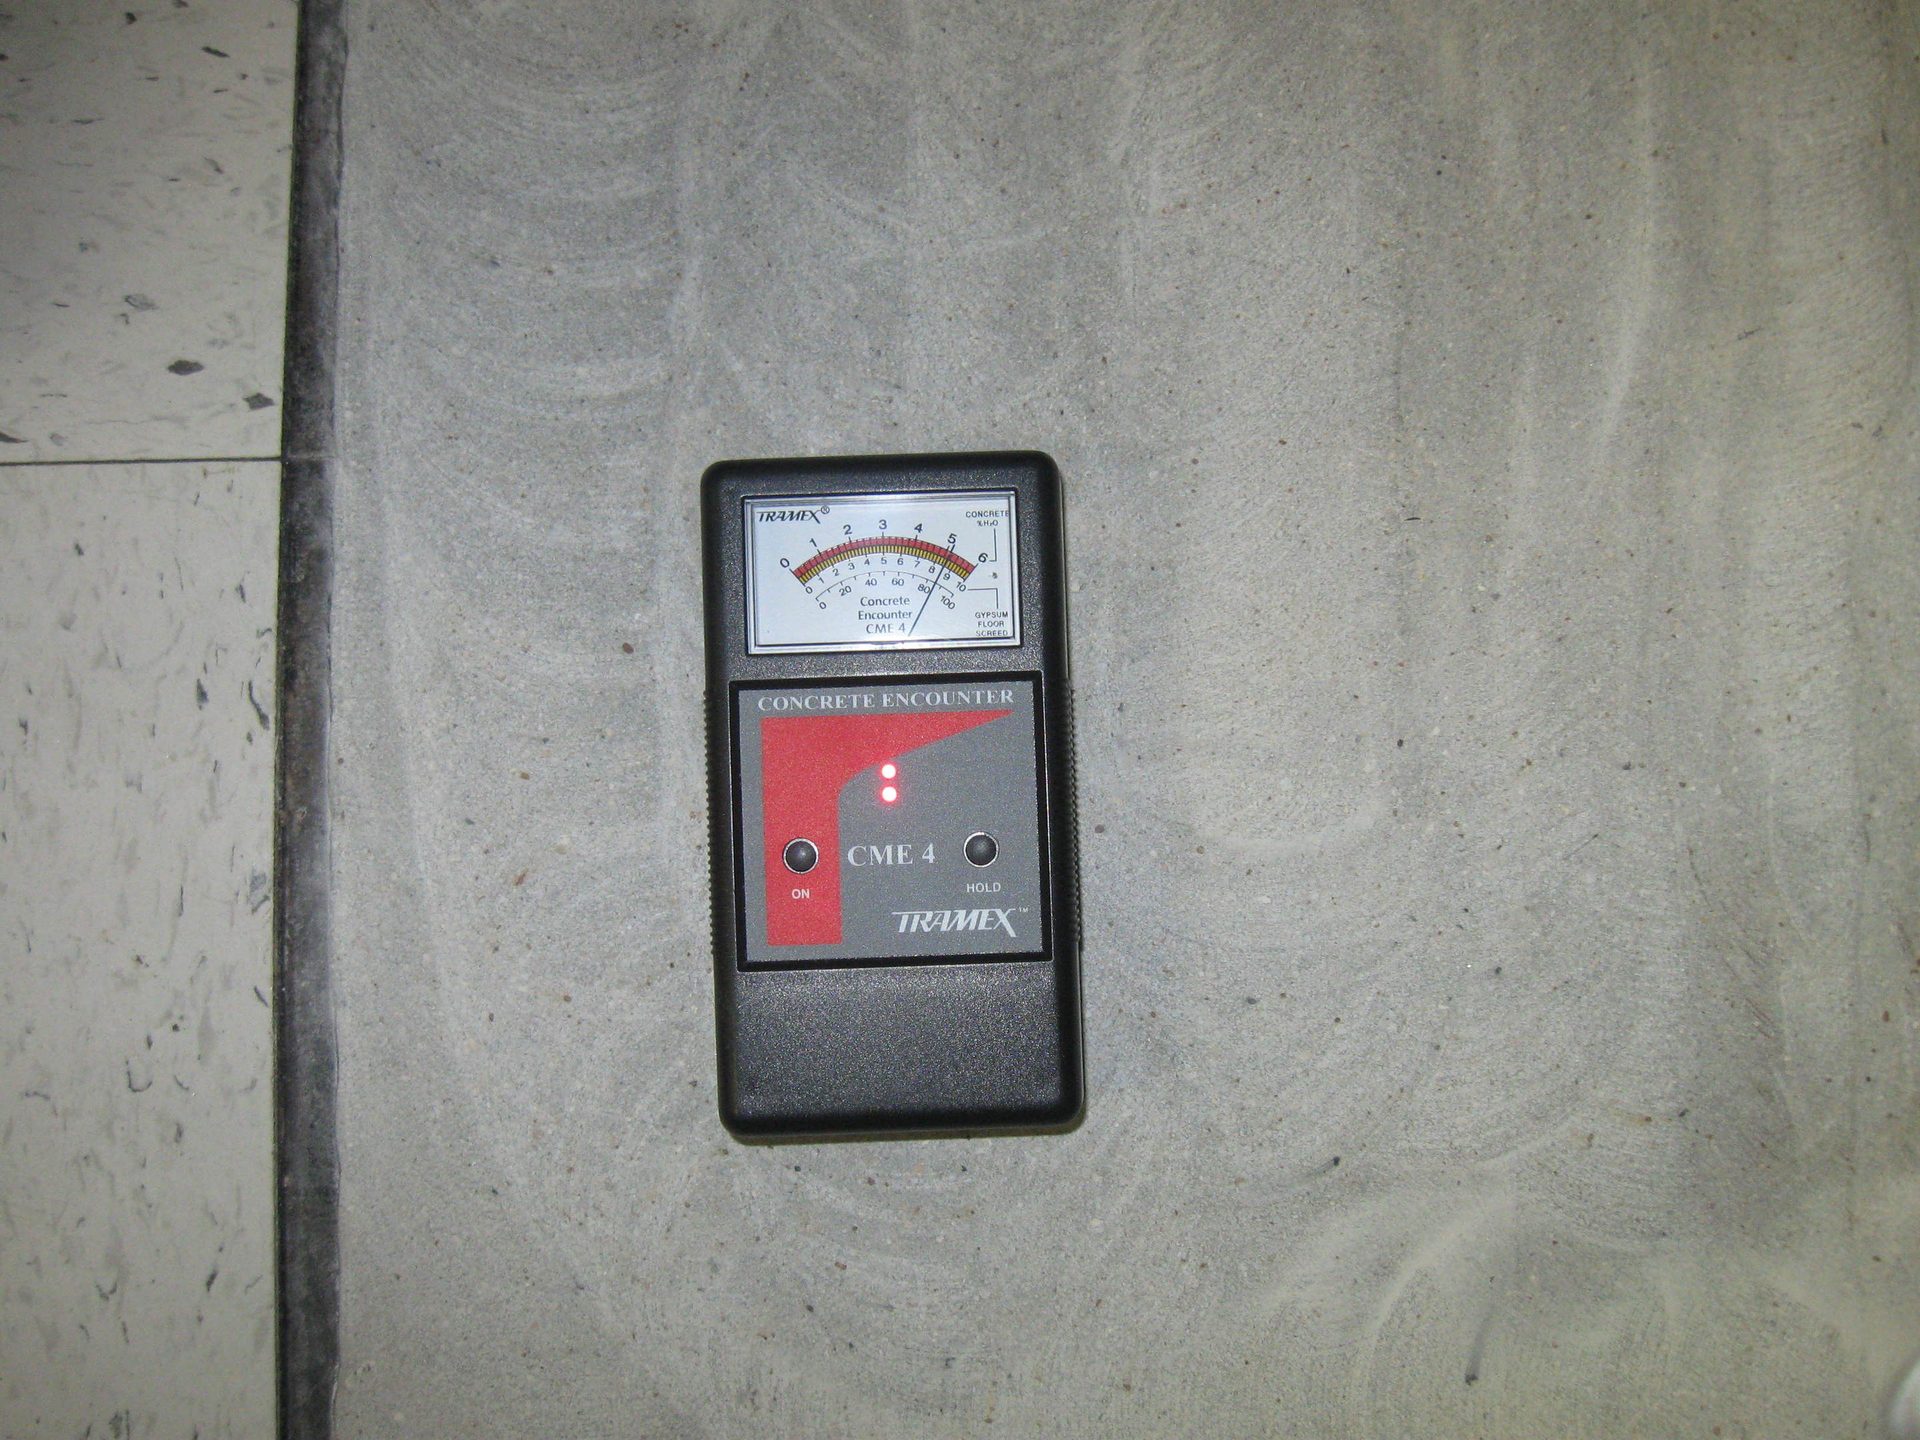
There is only one way to know for sure if moisture is present, per all manufacturers and ASTM F710, “All concrete slabs…shall be tested for moisture regardless of age or grade level.” Photo: Christopher Capobianco.
There is only one way to know for sure, per all manufacturers and ASTM F710, “All concrete slabs…shall be tested for moisture regardless of age or grade level.” The standard considered the most accurate is the ASTM F2170 Relative Humidity test method that measures moisture inside the concrete, and the ASTM F1869 Calcium Chloride test is the other method. Using a hand-held moisture meter as a “go or no go” test is never recommended.
Adhesives for carpet tile are as varied as are the methods for applying them, and there are many methods now that are “loose laid’ without adhesive, with a perimeter of adhesive or using corner “tabs” that hold the tile together in a floating installation. Before deciding which method to use, it's important to know what type of traffic conditions, environmental conditions and substrate conditions will be present. Hopefully, by the time the installers reach the job site, this decision will have already been written into the specification by the architect, often in consultation with the carpet and adhesive manufacturers.
However, the buck stops with the installer so when you arrive and do a jobsite inspection, you’ll be able to determine how much floor prep is necessary and make sure the decision on which installation method to use was the right one. Depending on these factors, you may be working with an adhesive that is trowel applied, sprayed on, applied with a paint roller or a combination. It may be a full spread application, a partial adhesive application such as a “grid” pattern, a “self-adhesive” carpet tile or a “loose lay” with no adhesive at all. The decision of which to use may depend on the jobsite conditions such as we mentioned above, or it may come down to what the installer is comfortable with.
For example, spray adhesives are coming into major use in the industry – but many installers are still more comfortable on their knees with a trowel, and there is nothing wrong with that. It is critical to use the right trowel when you go this route. Carpet tile, like many resilient floors, is usually installed with a very thin bed of adhesive so too much can be a bad thing; less is better in most cases. One of the advantages to using a trowel is that any debris or high spots in the floor can be observed as the trowel crosses the substrate and immediately corrected.
For a spray or roller applied adhesive, or loose lay installation, you don’t have this “up close” look at the substrate, so it’s important to carefully look at the floor to see if there are any defects in the substrate. One way to do this is to lightly pass a scraper across the floor or lay a straight edge on its edge to see if any high or low spots are present. Laser levels are sometimes used for the same reason. After repairing and defects and before starting with the adhesive you must sweep and/or vacuum the floor and do it again before the adhesive is applied. Take extra care to make sure the floor is flat and clean when you are using “non trowel applied’ adhesives.
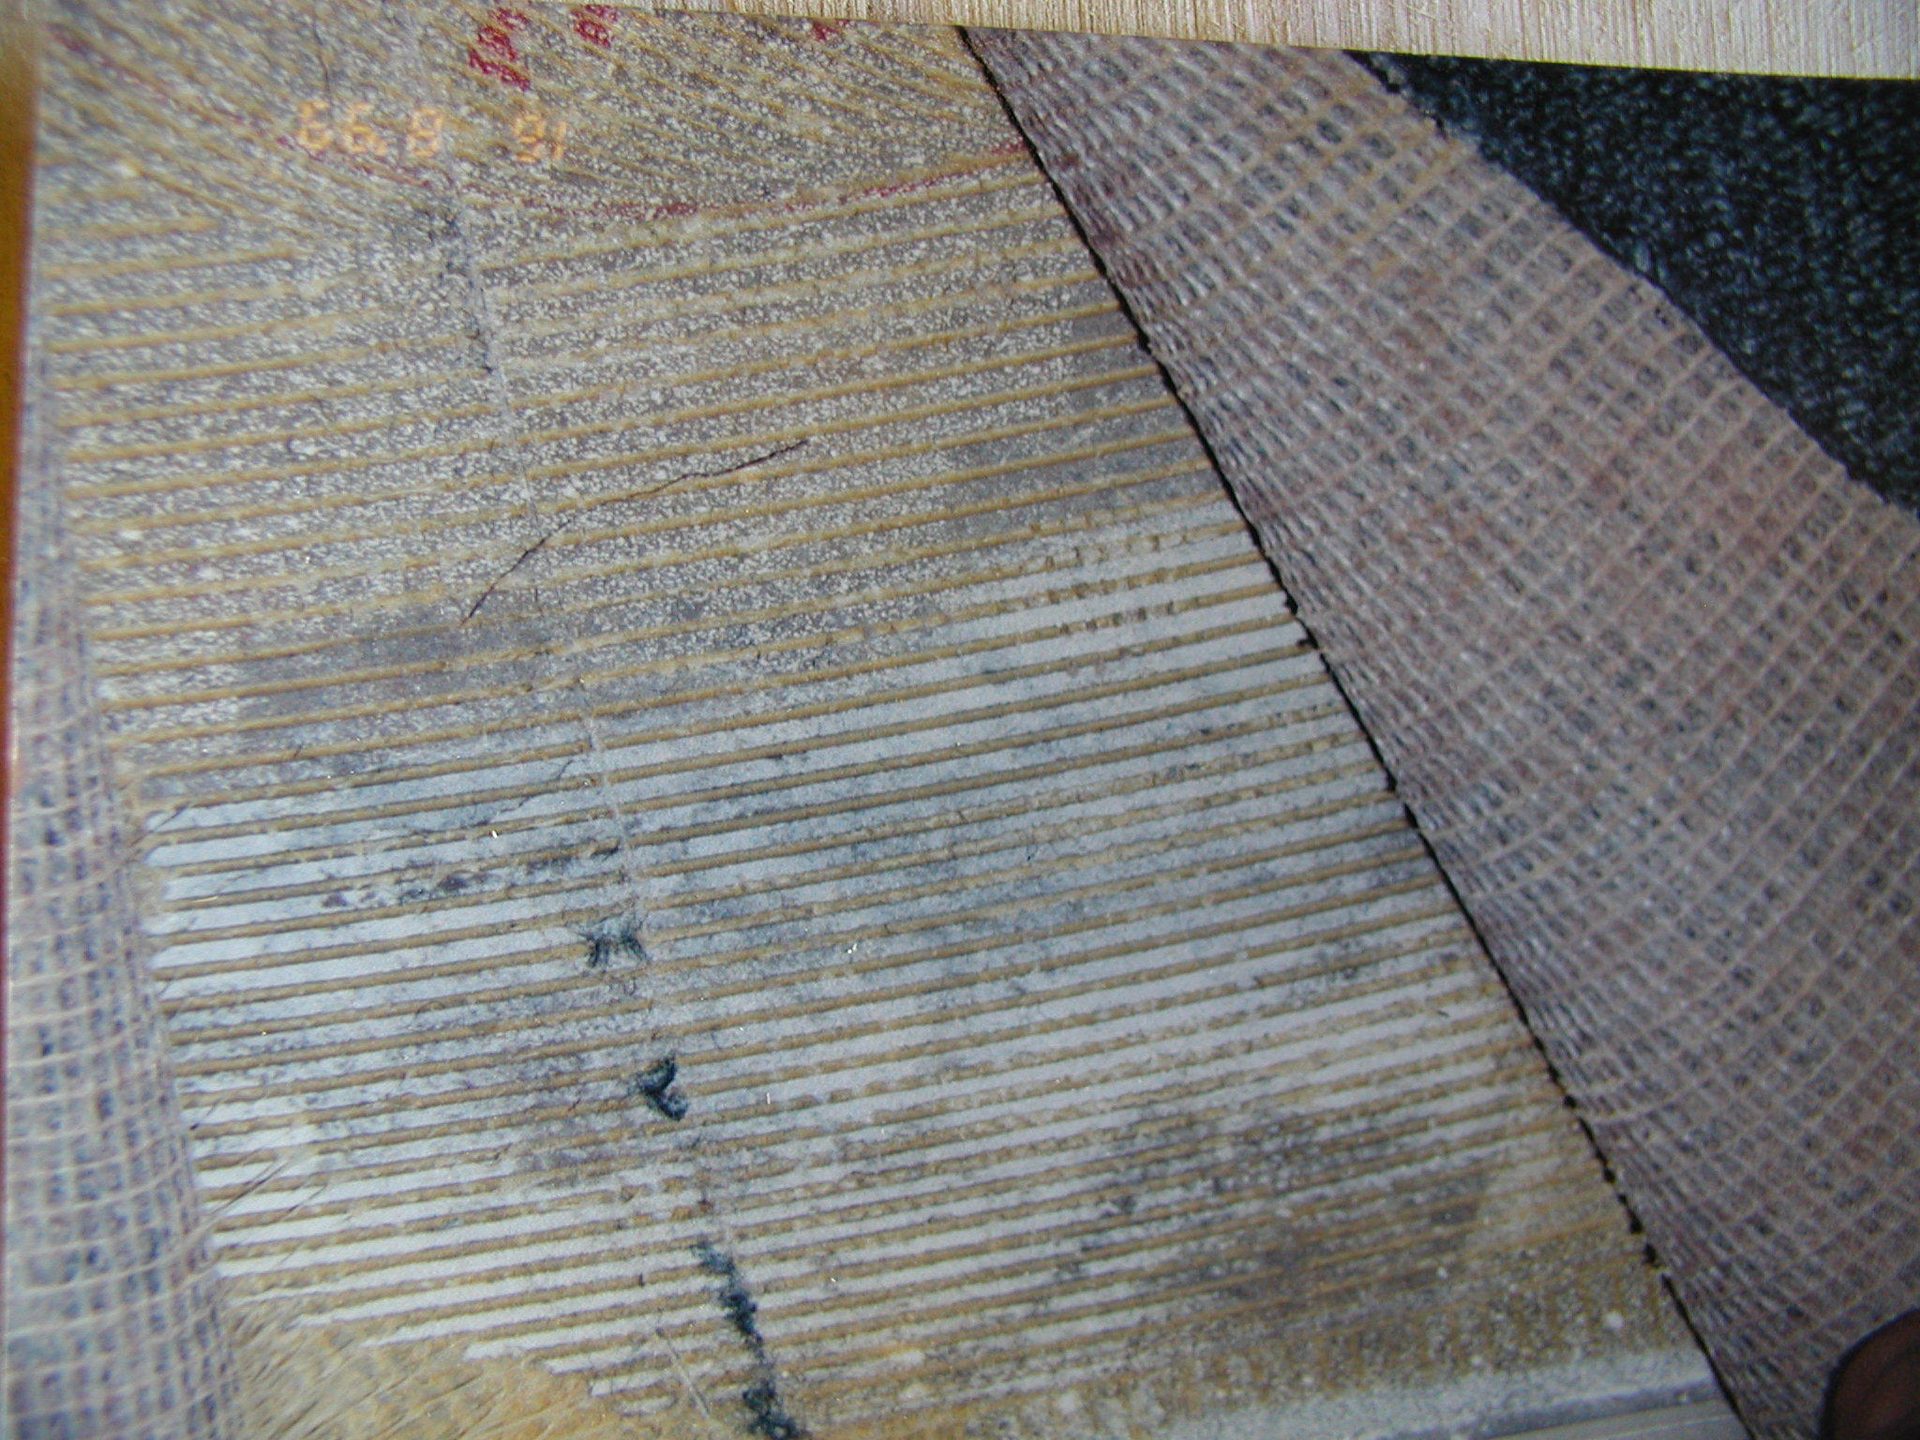
Proper adhesive use is key for all types of flooring. Although “pressure sensitive” adhesive is often used in carpet tile, in this case, broadloom carpet was supposed to be set into wet adhesive. The adhesive was allowed to dry, which resulted in a very weak bond to the substrate. Photo: Christopher Capobianco.
For glue down adhesive installation, the adhesives are applied and allowed to completely dry to a tacky consistency, which is how “releasable installation” of carpet tile is achieved. These adhesives were developed to have a low peel strength (easily pulled off the floor) and high shear strength (hold the tile from sliding). After installation, you can easily pull up the tile and replace with new tile. During installation, and for this releasable feature to work properly, you must allow the adhesive to dry to the touch prior to installing the carpet tile - otherwise this becomes a permanent or non-release installation. Please note that there are different pressure sensitive adhesives – it is your responsibility to know the type of carpet, carpet backing, and under what conditions the carpet is going to be installed and used.
Laying out carpet tile is not that different from resilient floor tile. Lay out the areas carefully and center the room as best you can to avoid border tiles that are less than six inches or so. Before spreading adhesive, it is important to dry lay some of the tile because many carpet tile patterns are directional - and you will see arrows on the back of the tile. If the tile is patterned, the designer or the owner may want it laid a particular way - either all in one direction or quarter turned. Even non-patterned tile has a direction and if a “seamless” look is preferred, then all the tiles need to be installed the same way. However, quarter turning these tiles gives a totally different look. There really is no right way or wrong way except that someone may have a preference, so it’s better to know this before you start. There are also a lot of applications where carpet tile is being used in patterns, borders and other custom work, so lay it out before you start and make sure that what you have in mind is the same as the owner or designer that chose the material.
The actual installation of carpet tiles needs to be snug up against any walls or fixtures, especially with loose lay or self-adhesive tiles. I inspected a carpet tile installation in a retail store many years ago that had major gaps in the seams of the tile in some areas. When I looked under the baseboards, I found that the tile was not tight up against the wall; the installer left a gap around the edges and the tile shifted once it was exposed to traffic. I had this same experience in my own office when I installed carpet tile. Because of some pending construction, I was not able to finish the floor right up to one wall and sure enough, the tile “walked,” creating little gaps.
I think the growing popularity of carpet tile opens opportunities for installers to put to good use what they know about the very technical field of resilient floor installation, resulting in more work and more ways to show off their craftsmanship.
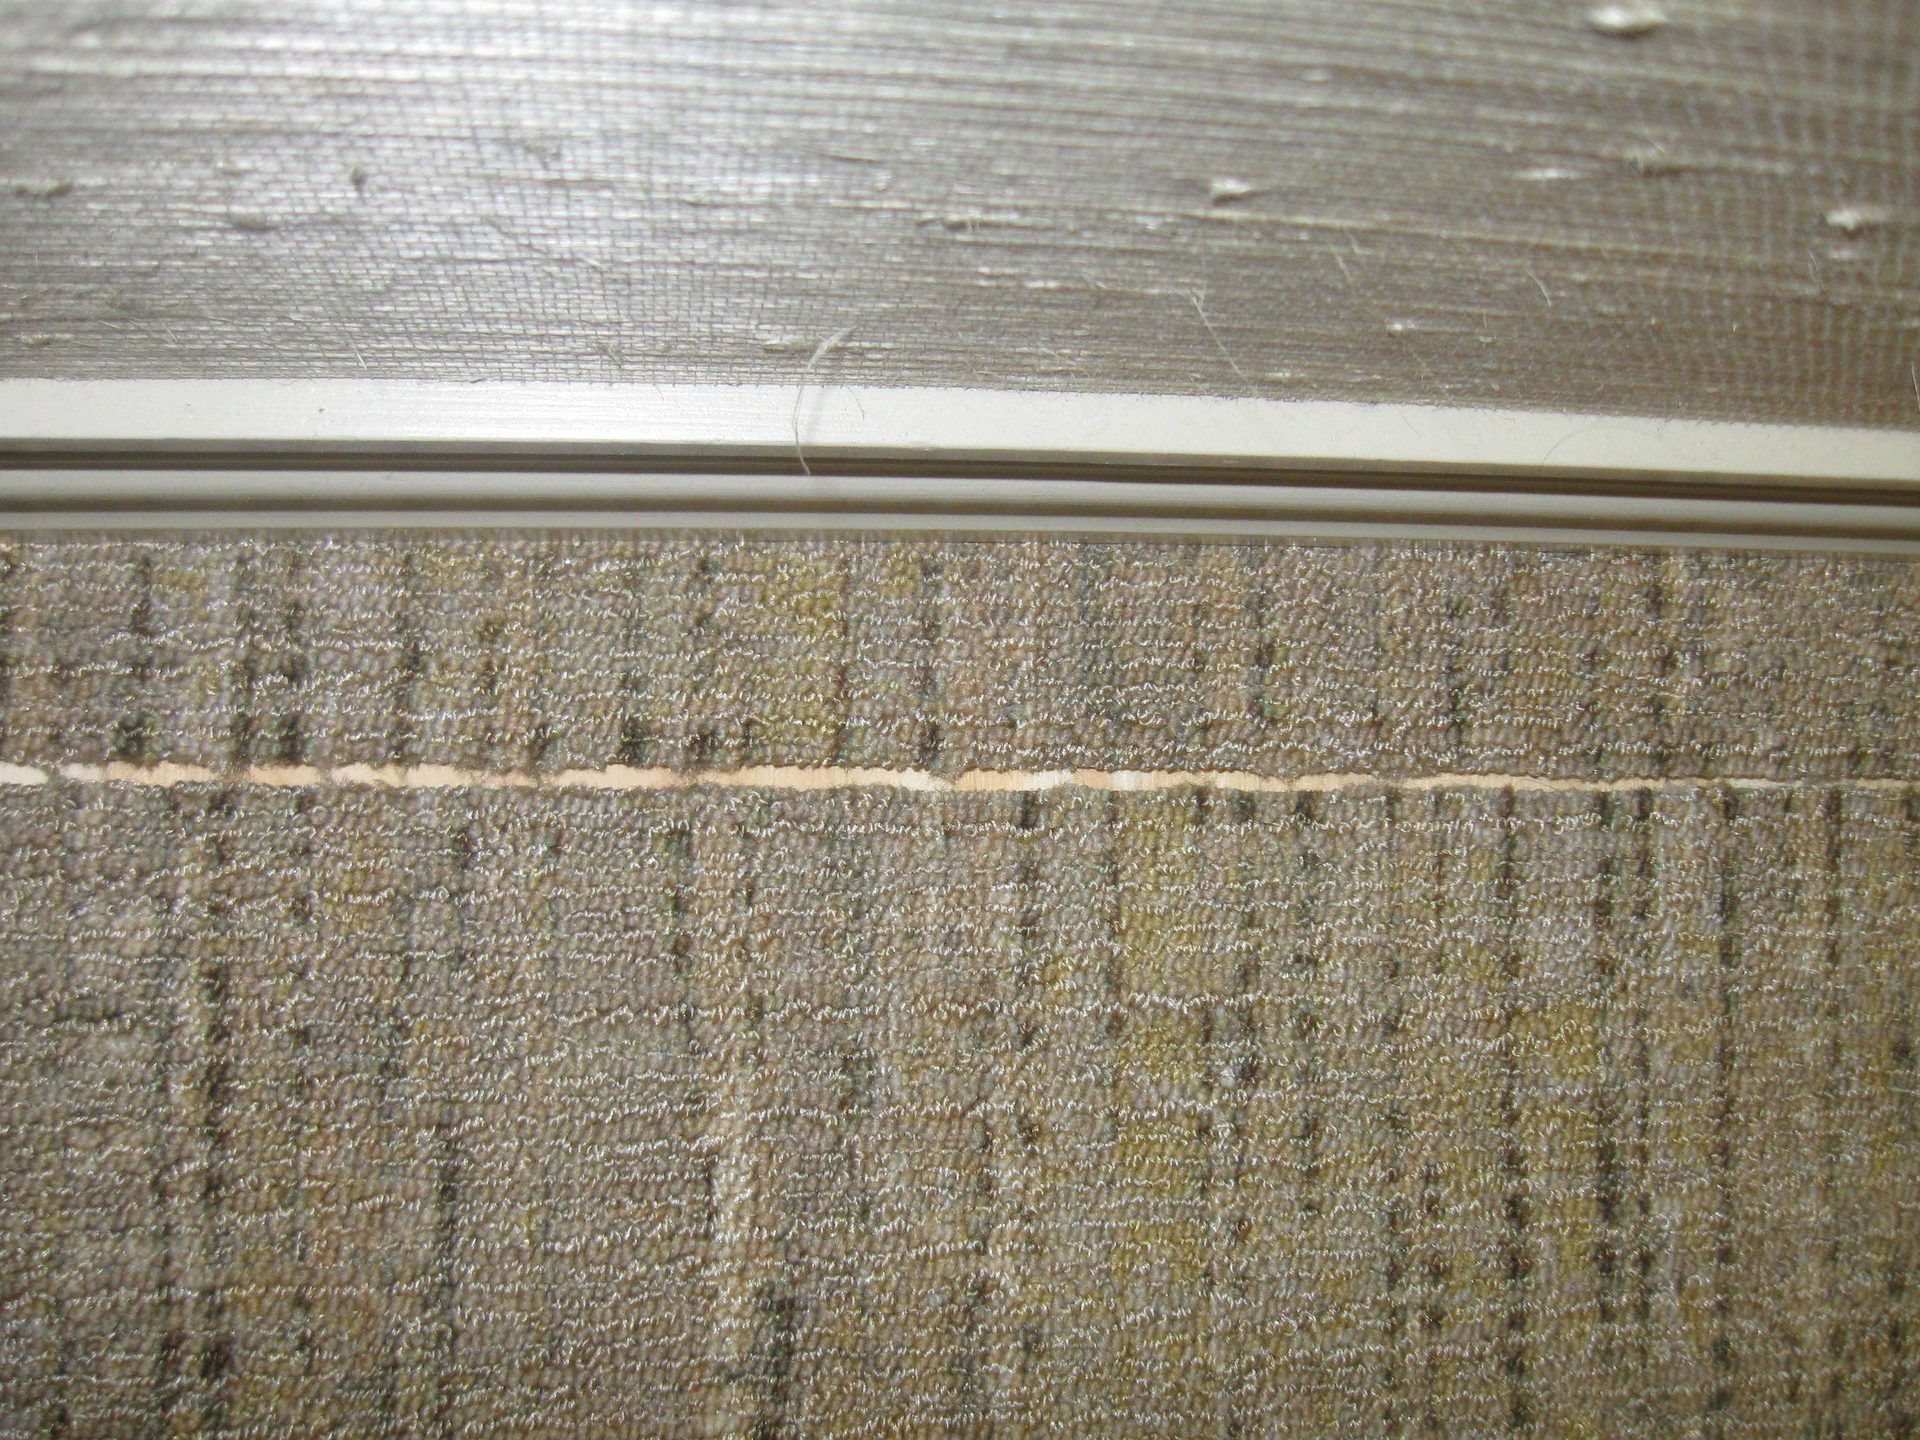
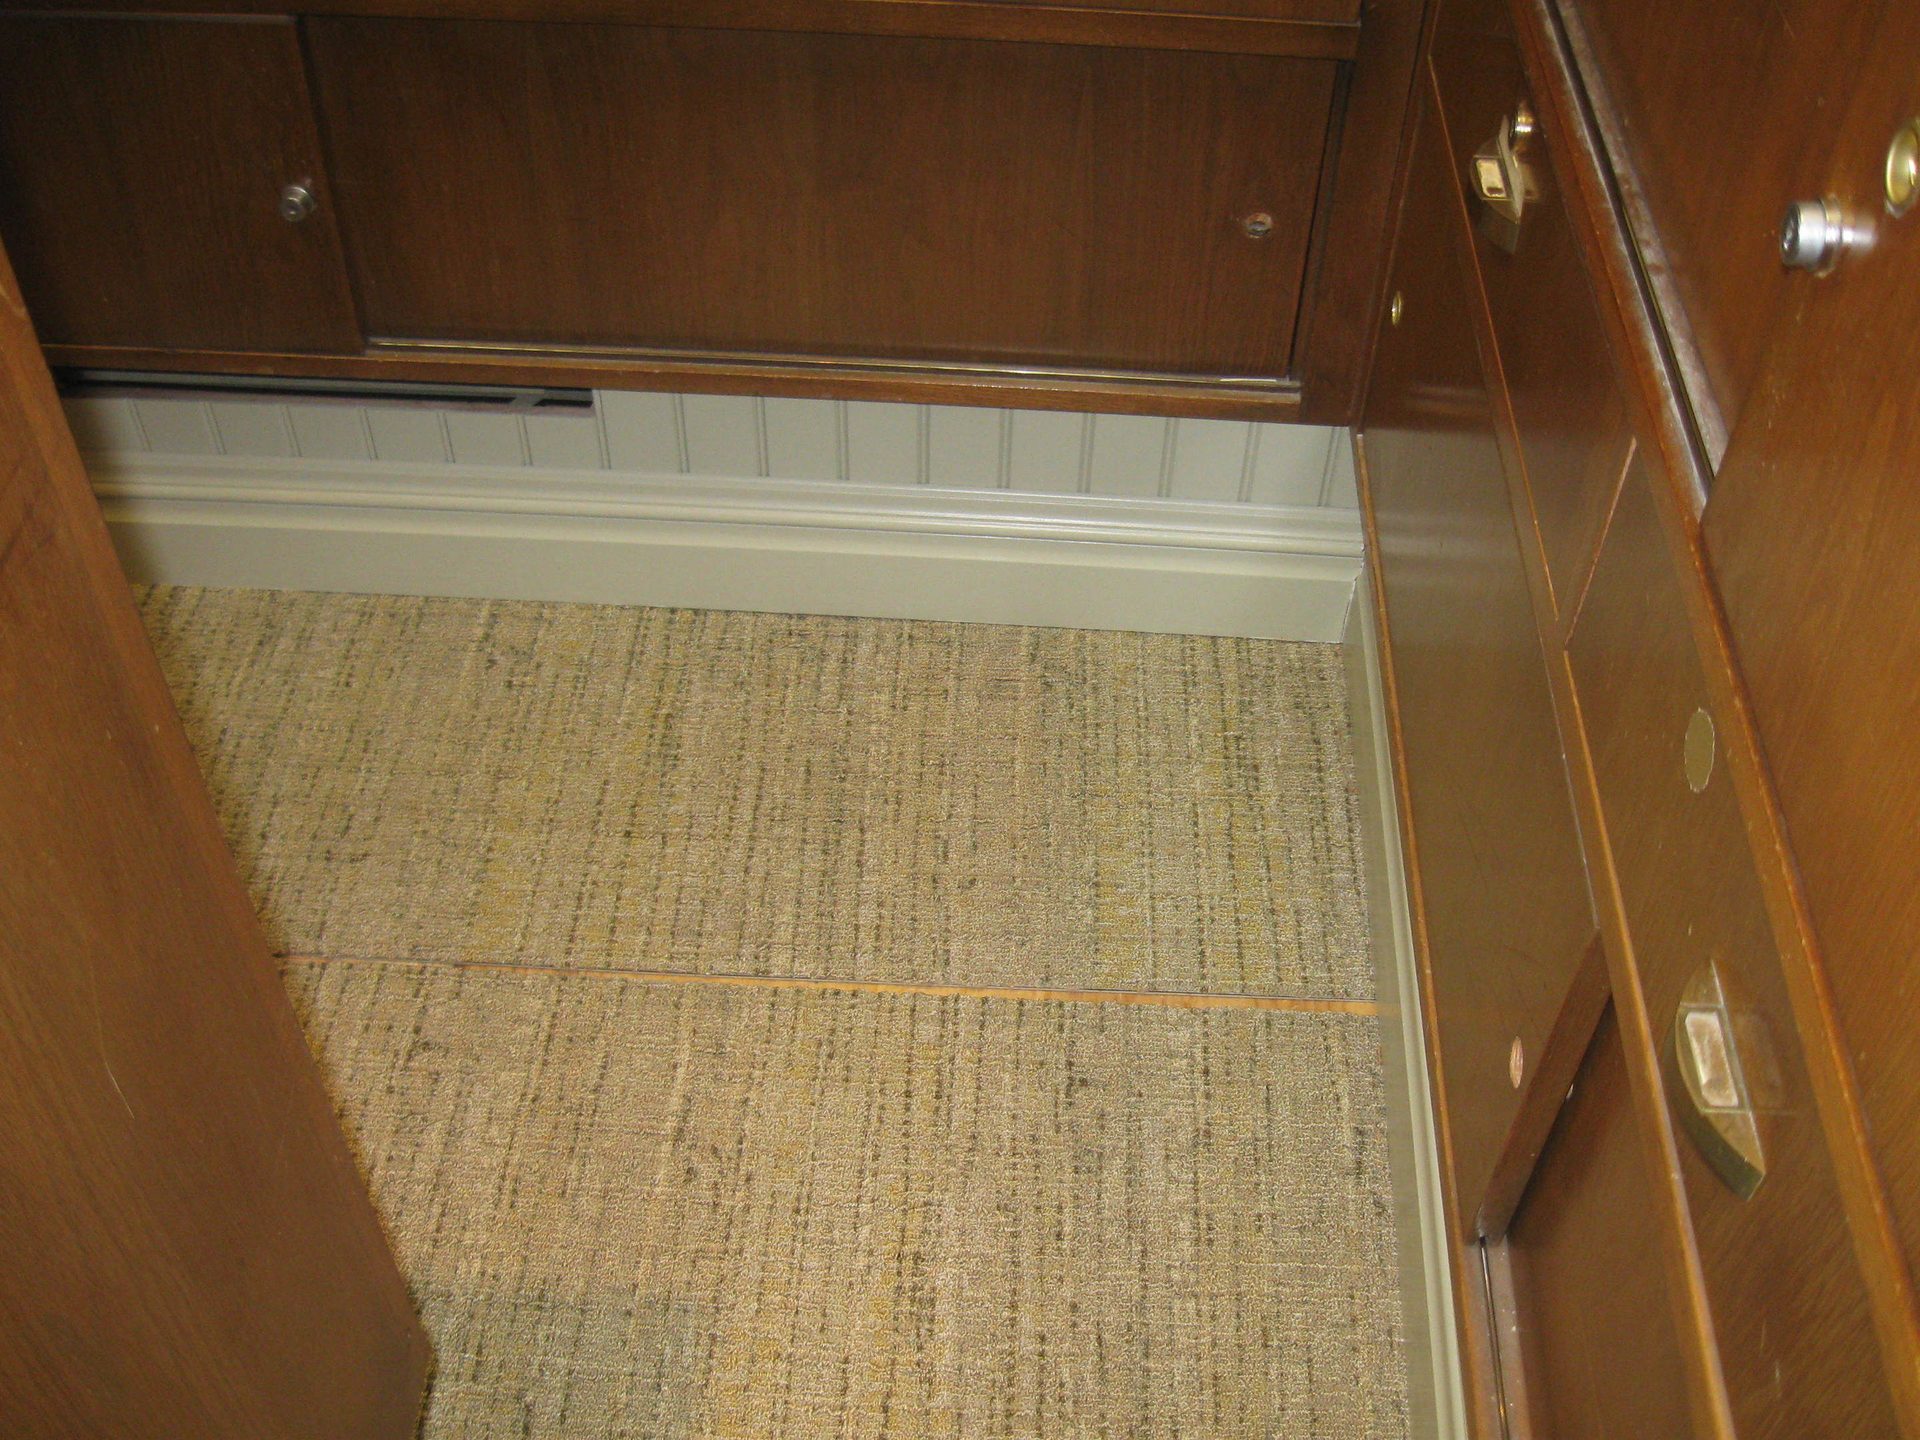
Improperly adhered carpet tile can “walk,” which gets incorrectly blamed on “shrinkage.” In the case of this loose lay tile installation, the tile was not tight against the wall, the installer left a gap around the edges (under the baseboard), and the tile shifted once it was exposed to traffic. Photo: Christopher Capobianco.
Christopher Capobianco of Spartan Surfaces is a fourth-generation floor coverer, and he’s been in the business since the 1970s. He’s done residential and commercial sales, installation, and technical support; been a writer and educator; and has held leadership positions in organizations like FCICA, ASTM and IICRC. Since 2012, he has been part of Spartan’s business development team in the New York metro area and is beginning a transition back into technical and sales support for Spartan, working with their nationwide sales team. He also produces a series of articles and videos called “Flooring Answers.”
